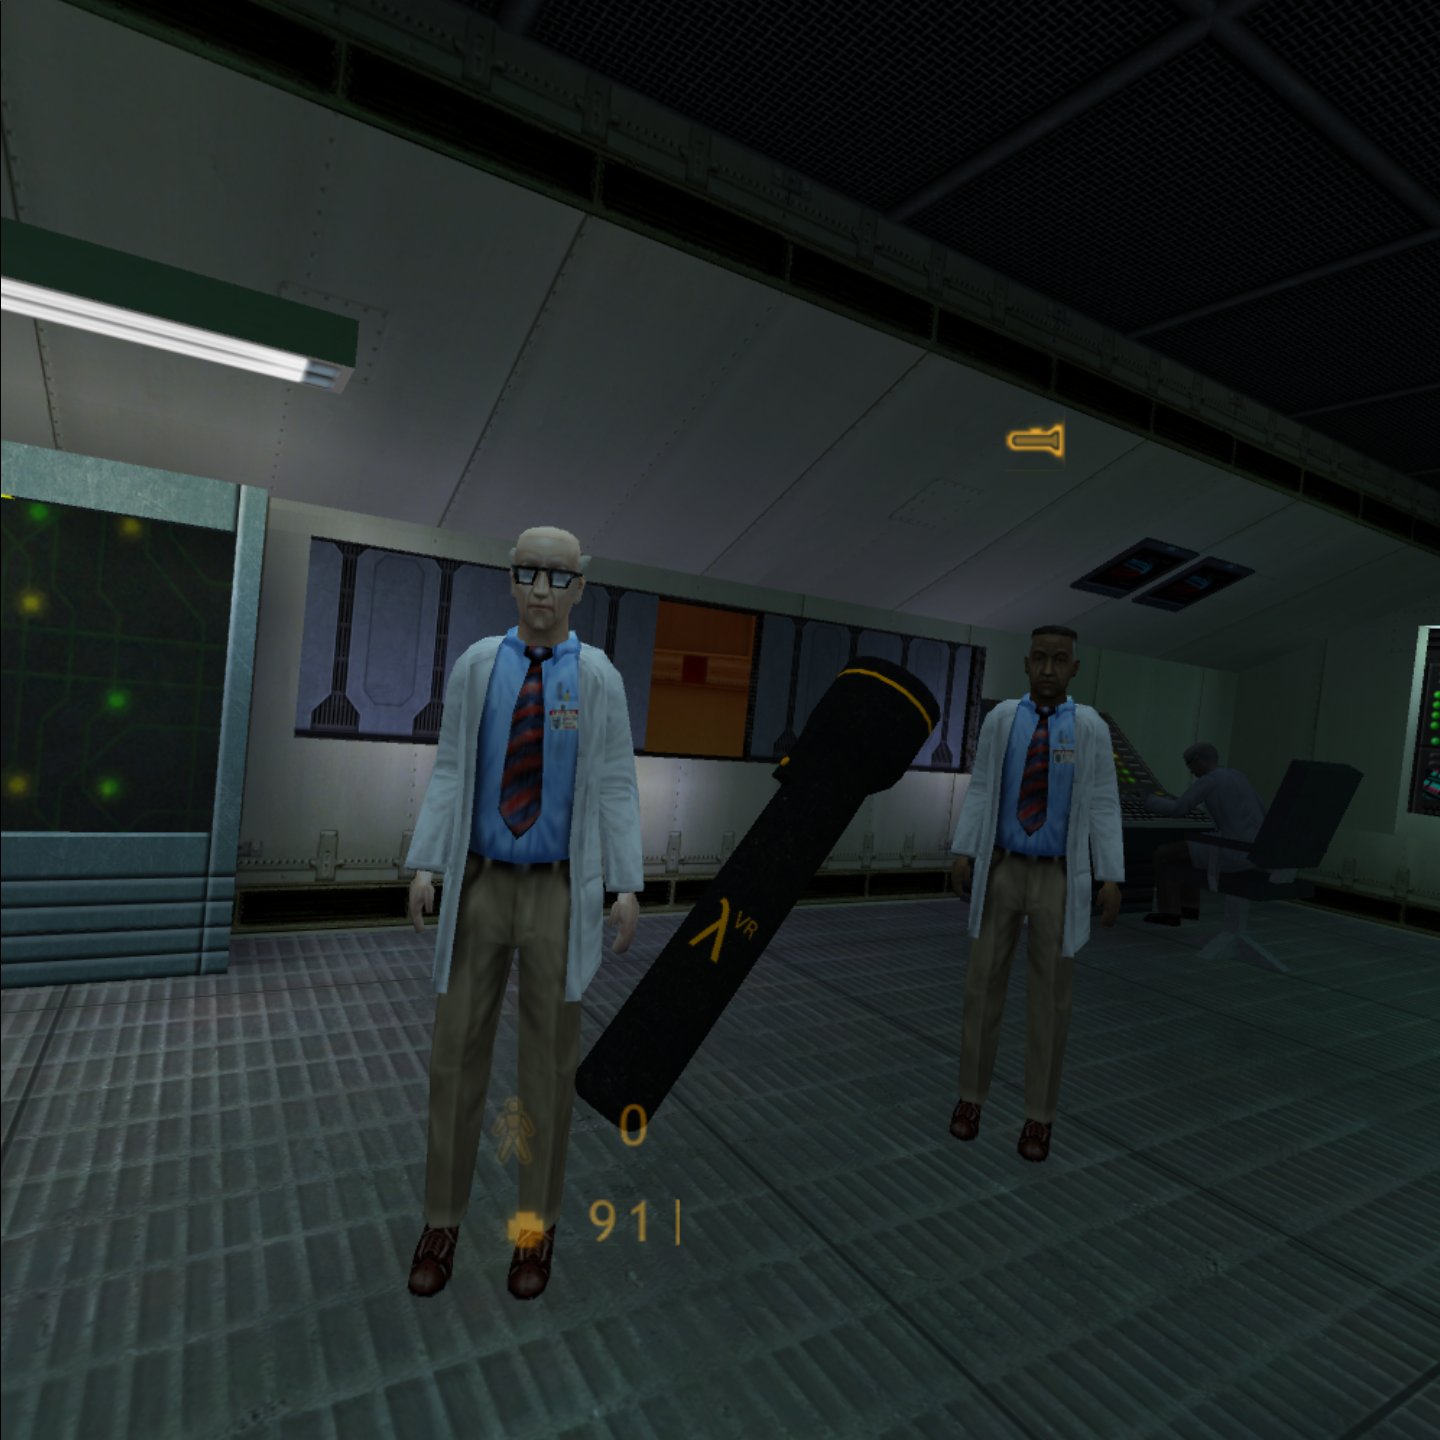
Right now you can play Half-Life in VR for free on the Oculus Quest.
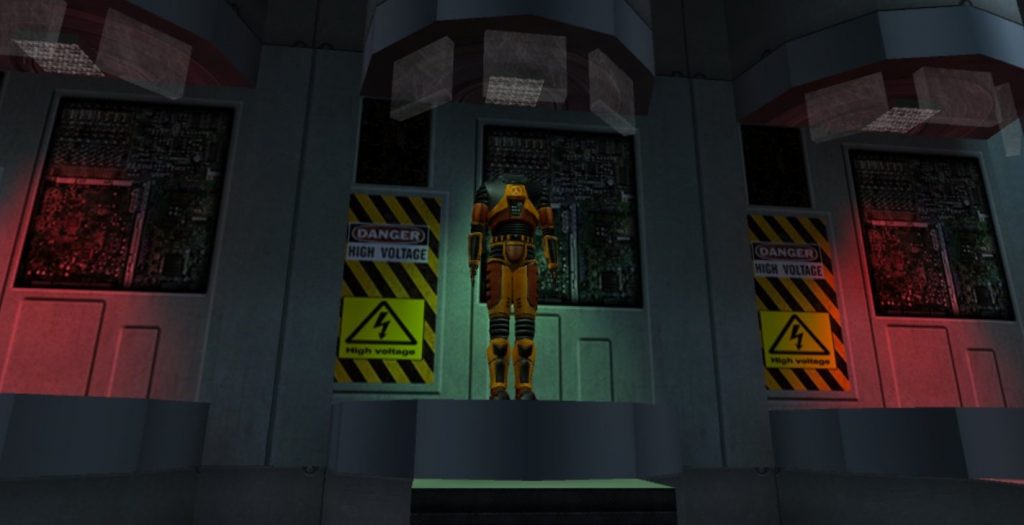
Valve’s debut game, Half-Life, was released in 1998. Now, 22 years later, the company is getting geared up for the release of their new VR exclusive, Half-Life: Alyx. As the release date draws nearer, Valve is building the hype by letting players replay the classic Half-Life games for free.
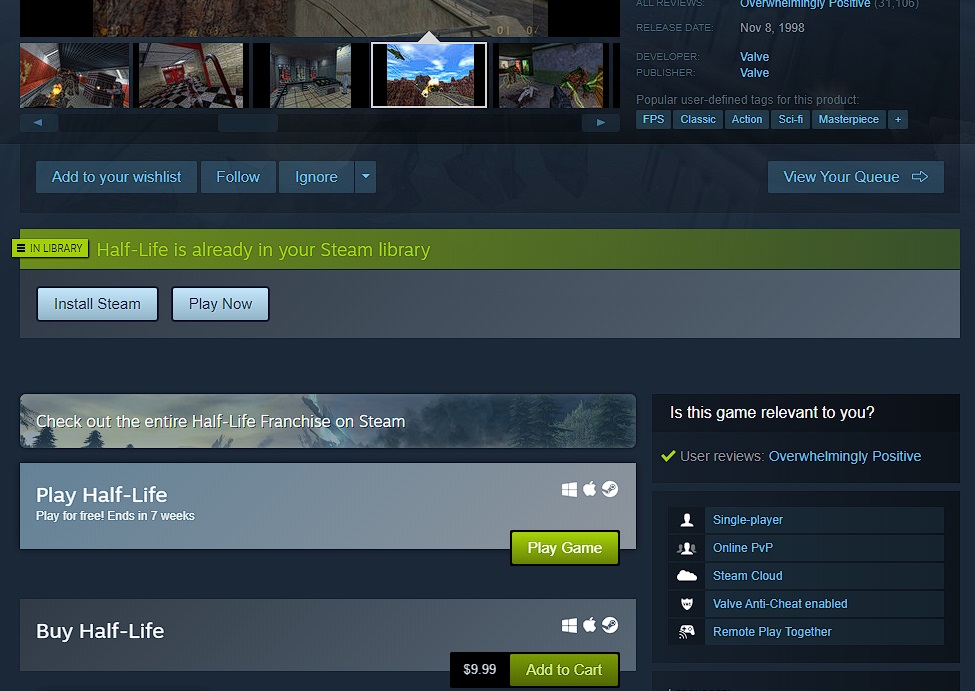
On January 21st Steam announced that the previous games in the Half-Life series are free-to-play until the release of Alyx in March.
If you take advantage of this offer you’ll also be able to play the classic Half-Life in VR on your Oculus Quest by using the Lambda1VR app available in SideQuest.
Installing Half-Life on the Quest
This guide will assume you are familiar with or have used SideQuest before. If you haven’t, well then I’ve written a guide about that too: Oculus Quest: Enabling Developer Mode and using SideQuest. You’re also going to need a USB C cable to copy files from PC to Quest.
First, go ahead and get a copy of the original Half-Life from the Steam store. (Free for a limited time.) Install the game on your PC from Steam—you’ll need to copy some files from the PC to the Quest in a moment.
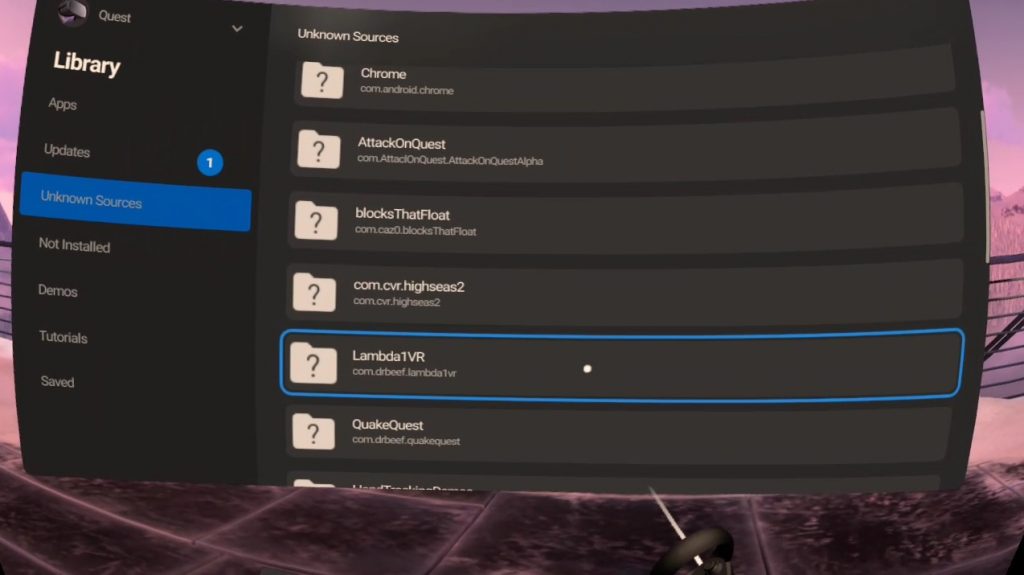
Connect your Quest to your PC with a USB cable. Open SideQuest and Install Lambda1VR on the Oculus Quest.

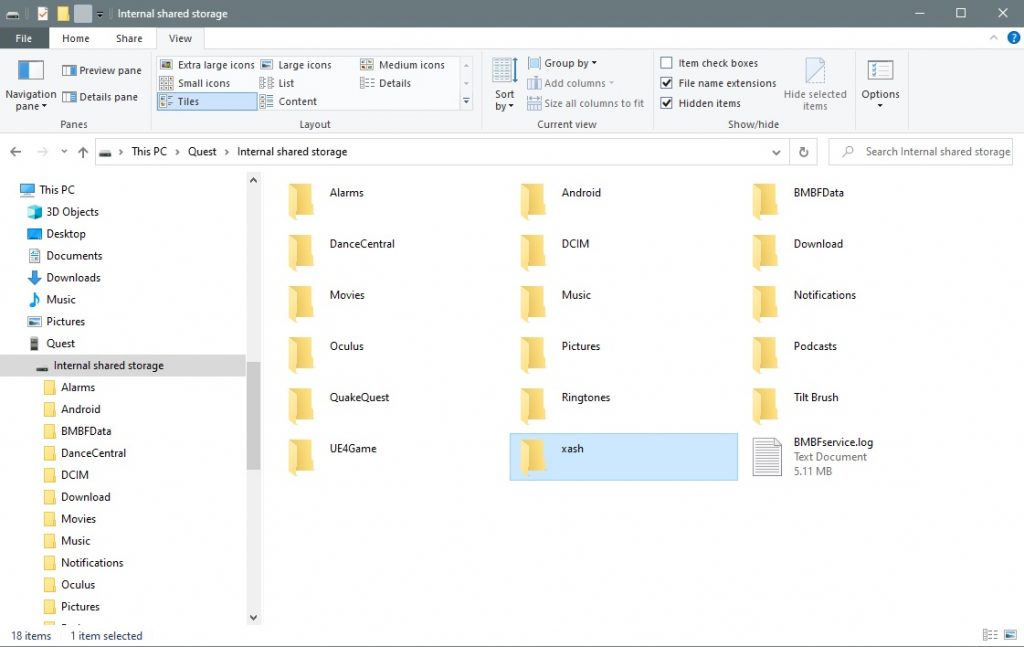
Keep that cable connected and SideQuest open for a moment, you need to open an Explorer window and browse to the root folder of your Oculus Quest. This PC\Quest\Internal shared storage
Make a new folder named xash
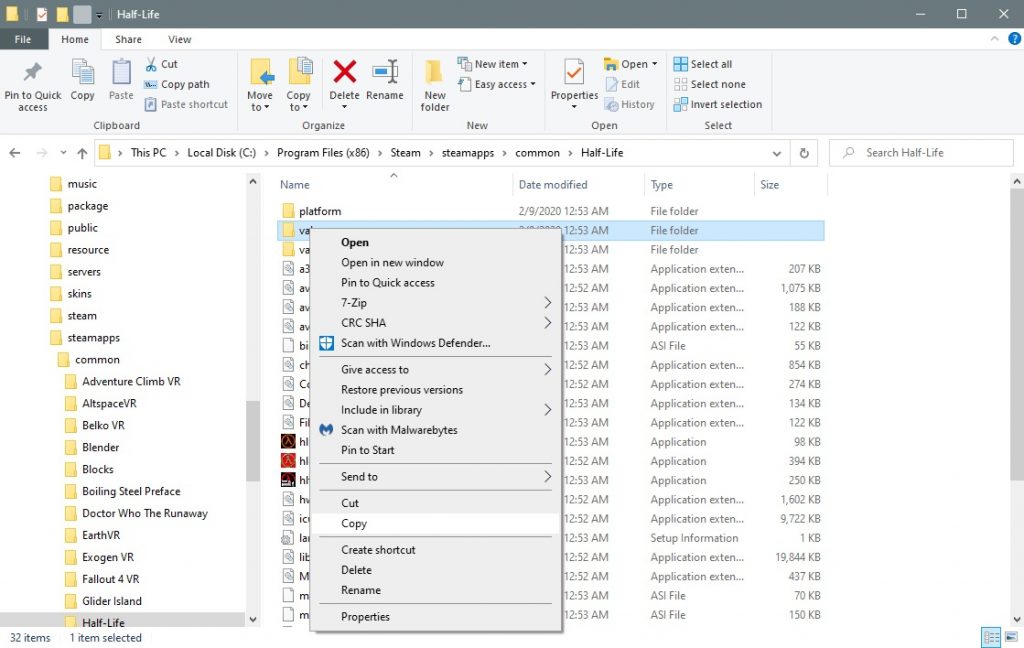
Copy the valve folder from the Half-Life directory. (The default directory location is: C:\Program Files (x86)\Steam\steamapps\common\Half-Life) Paste it into the xash folder you just made on the Quest. This can take quite a while to copy so be patient.
Once the copy is complete, you can restart the Quest (hold the power button for a few seconds and choose restart from the menu), then launch Lambda1VR from the Unknown sources library tab, and enjoy Half-Life in VR.
Make it Look Better
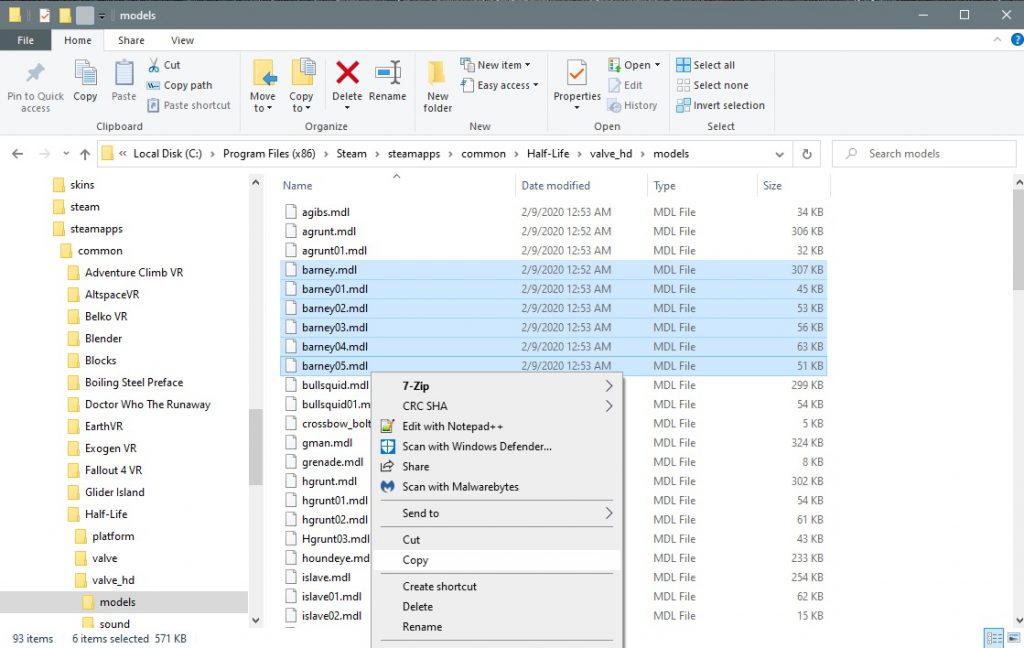
The default models for scientist and guard NPC’s are a little, um, cheesy looking. Fortunately valve also installs HD assets that you can use in a handy valve_hd folder.
You should copy the Barney and Scientist models from C:\Program Files (x86)\Steam\steamapps\common\Half-Life\valve_hd\models to the models folder on your Quest: This PC\Quest\Internal shared storage\xash\valve\models
Also, you might want to check out this HD texture pack on reddit. It really makes the walls and environment much better and has some improved sounds.
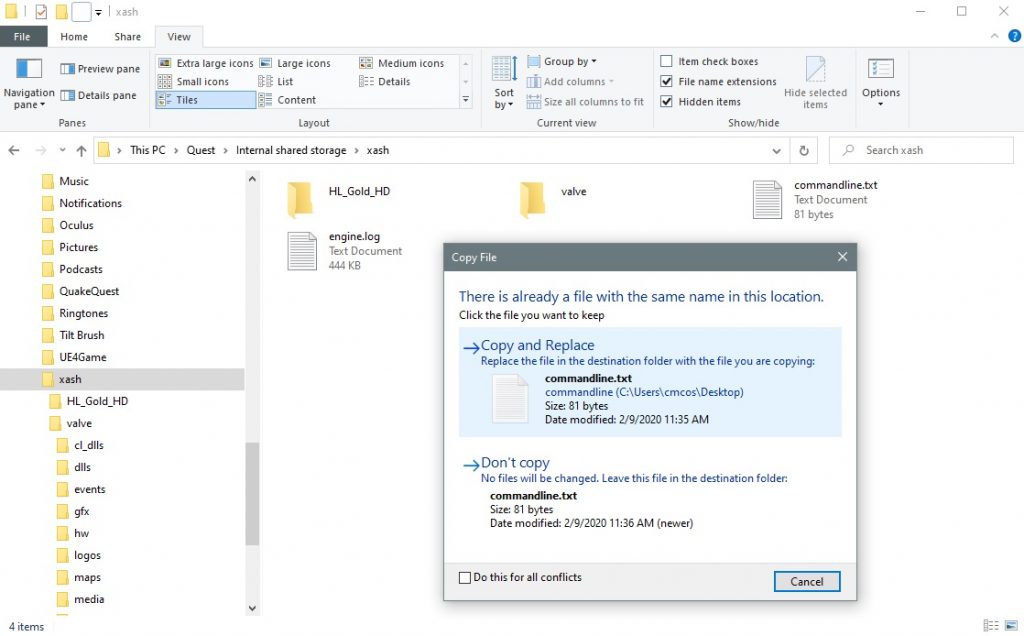
Finally, edit the commandline.txt folder that is in the xash folder. (If you haven’t launched Lambda1VR yet this file won’t be there.)
If you try to just open the file and edit it directly on the Quest’s internal storage, it wont work. You’ll need to copy the file to your PC to edit it, just copy it to your desktop or documents folder.
If you choose to skip the HD texture pack just make it so the content says:
xash3d -log --supersampling 1.25 --msaa 2 --cpu 4 --gpu 4
if you choose to install the HD texture pack then make it say:
xash3d -log --supersampling 1.25 --msaa 2 --cpu 4 --gpu 4 -dev 3 -game hl_gold_hd
then save the file and copy it back to the xash folder on the Quest. If prompted, make sure to overwrite the original file by clicking Copy & Replace.
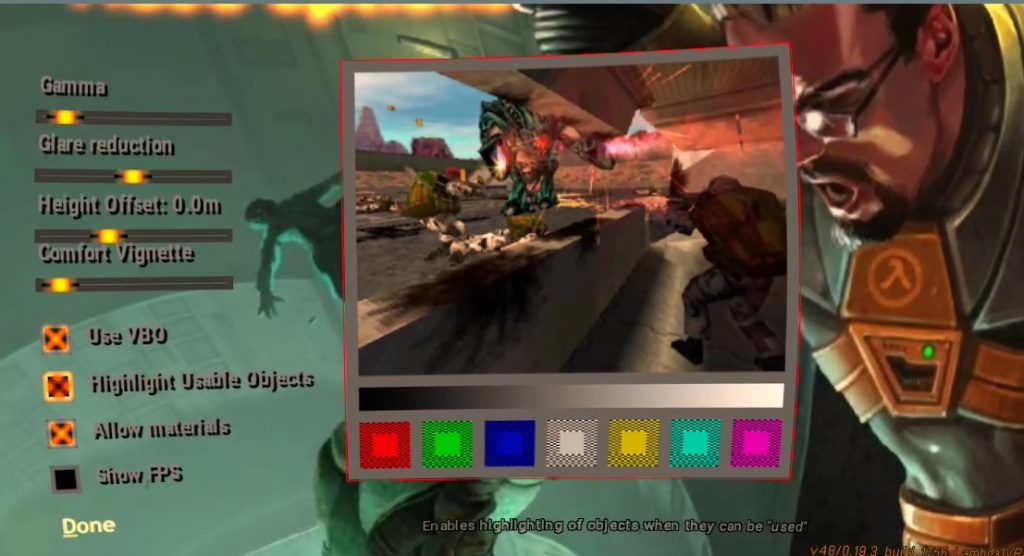
To make sure the HD files are used, when you launch Lambda1 on your headset, open the Video options: Configuration>Video>Video Options and check that the box for Allow Materials is filled.
Have Fun!
Leave a Reply