
Everybody wants to know how to play PC VR games on their Oculus Quest, wirelessly. The first response you’ll likely get, if you ask anyone, is to buy Virtual Desktop. It has become the go-to method of playing PC games on Oculus Quest. But, if you have an AMD graphics card, you may already have a free VR streaming solution installed on your PC! In case you didn’t know, VR streaming support is built right into AMD’s Radeon Software in the form of Radeon ReLive VR.
Most modern AMD GPUs are supported. So, if you have a VR-ready PC with an AMD graphics card, this is something you should probably check out. Here is an excerpt with supported devices from AMD’s FAQ:
What kind of graphics card do I need?
https://www.amd.com/system/files/documents/amd-radeon-relive-for-vr-faq.pdf
Radeon Relive for VR is compatible with AMD Radeon™ RX 470, RX 570, RX 480, RX 580, RX 590
& RX Vega series products (or newer) & supports Windows® 10. Recommended experience on
Radeon™ RX Vega series graphics cards, or newer.
If you don’t see your card listed, or you have an NVidia card don’t fret, there’s still a free option available to you—check out my earlier post about ALVR: How to Play Steam VR Games Wirelessly on Oculus Quest.
How to Make Radeon ReLive VR work with Oculus Quest
Sideload the Radeon ReLive VR APK
To make VR streaming through Radeon Relive VR work with your Oculus Quest, you’ll need to sideload an APK file for Radeon ReLive VR onto the device.
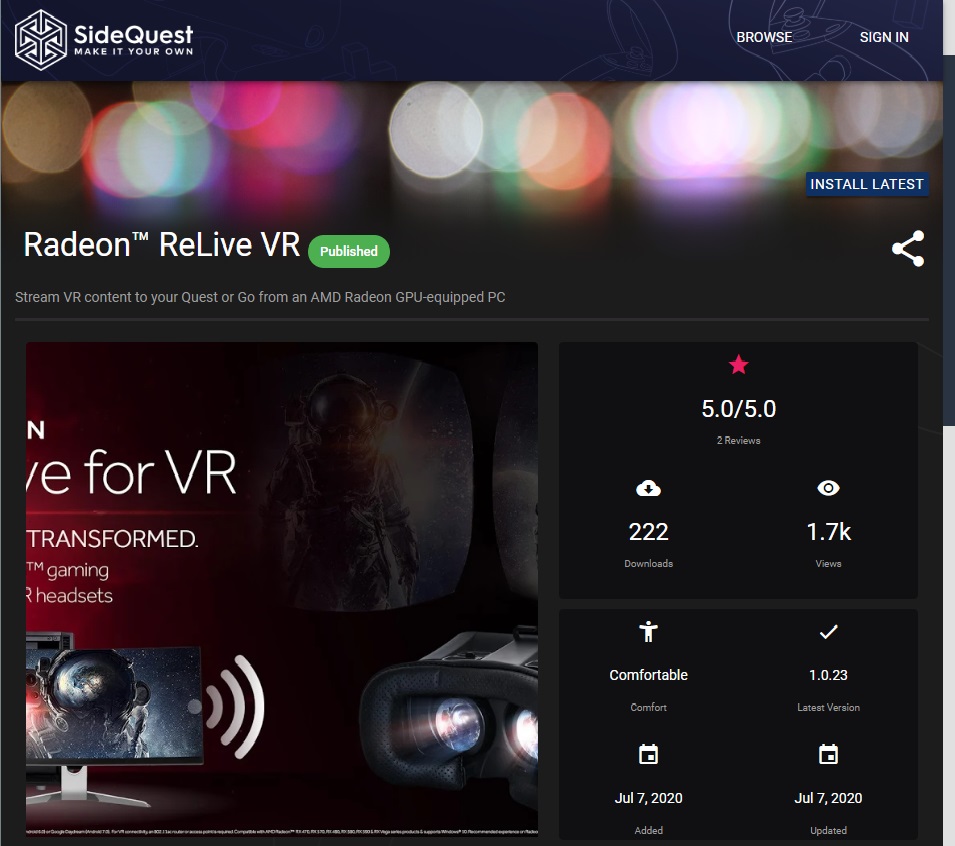
Fortunately Radeon ReLive VR was added to SideQuest just a few days ago! If you’re already familiar with SideQuest you can install it with just a couple of clicks. Here’s a link to the Radeon ReLive VR on SideQuest.
If you prefer to download the APK file directly from the source, get it from Github https://github.com/GPUOpen-LibrariesAndSDKs/Radeon-ReLive-VR—and then install it manually using SideQuest. (You could manually install the APK using a terminal ADB commands, but SideQuest takes all the extra work out of it and gives a nice GUI.)
If you’ve never heard of SideQuest, or just want some help with how to get it set up, check out my post: Oculus Quest: Enabling Developer Mode and using SideQuest
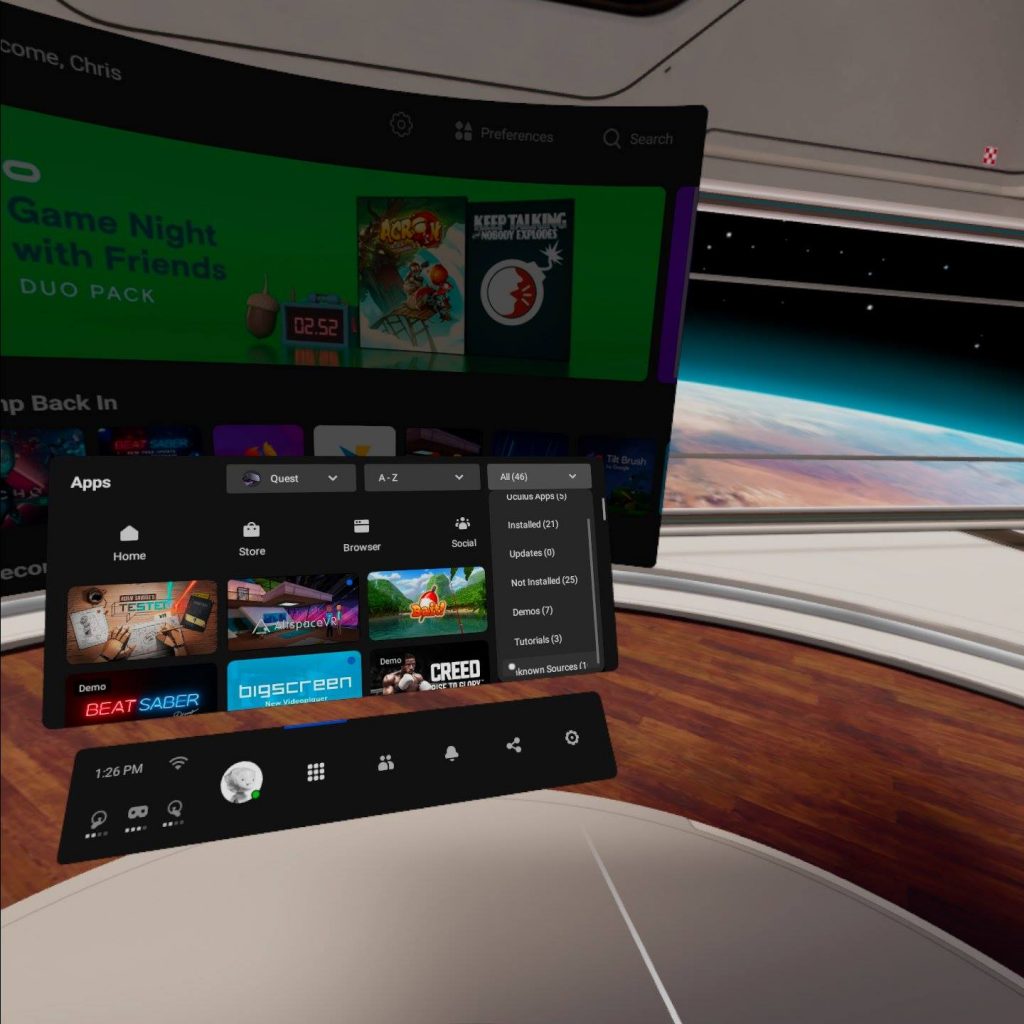
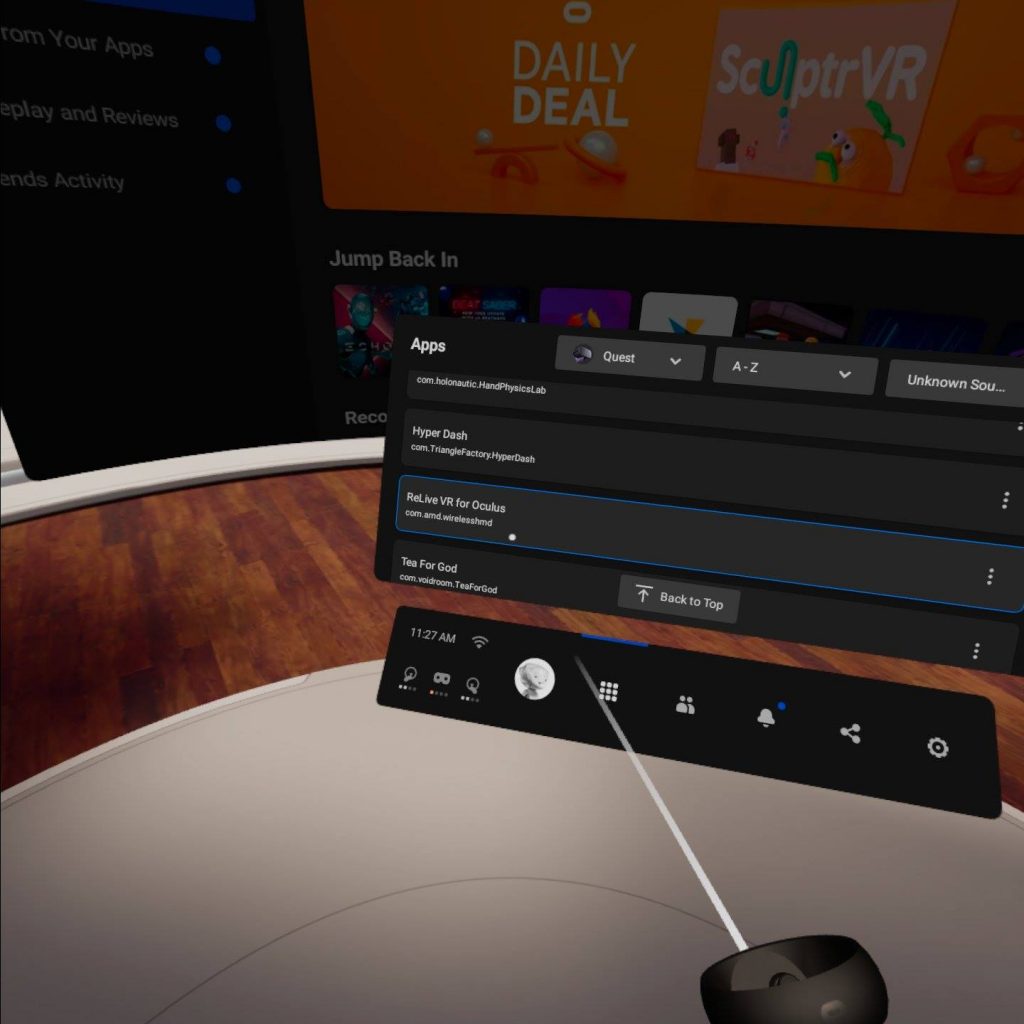
After you have installed the APK you can launch it by going to All Apps, and selecting ReLive VR for Oculus from Unknown Sources.
You’ll then see this quite screen with a Wifi icon, letting you know that the app is waiting for SteamVR on PC.

Enable Radeon ReLive VR on PC
The reciever is ready but we have to make sure everything is set up correctly on your PC. You’ll need to enable the software in Radeon Software’s settings. You’ll also need Steam VR, but I’ll get to that in the next section.
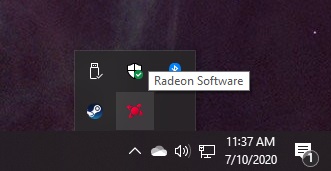
Right Click on the your Desktop and open Radeon Software or by double-clicking the icon on the Taskbar tray
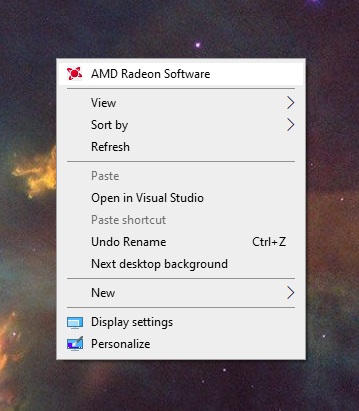
or
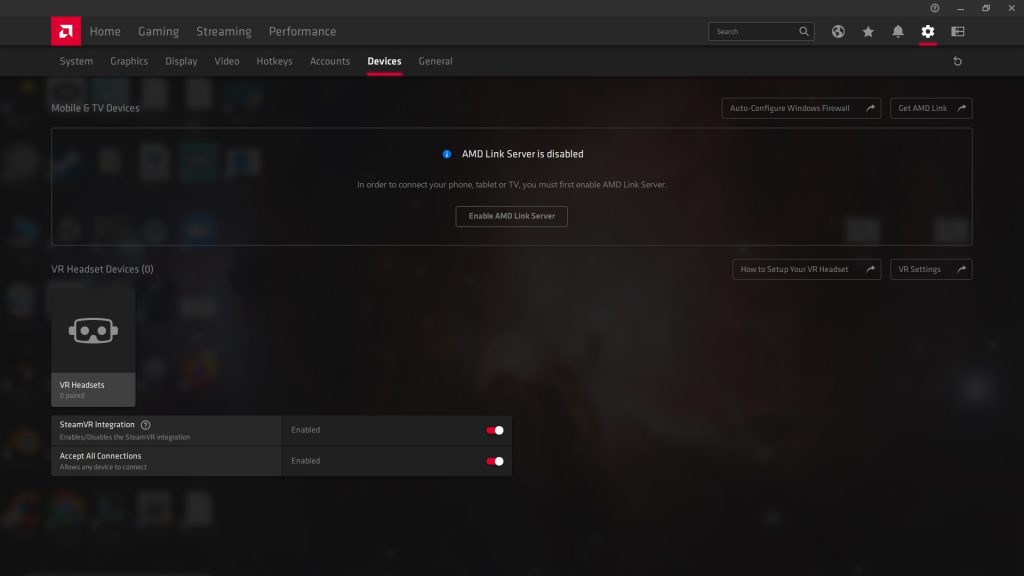
Click the Gear Icon in the top right corner of the Radeon Software window to view Settings. Under the Devices tab make sure that SteamVR Integration is Enabled, as well as Accept All Connections.
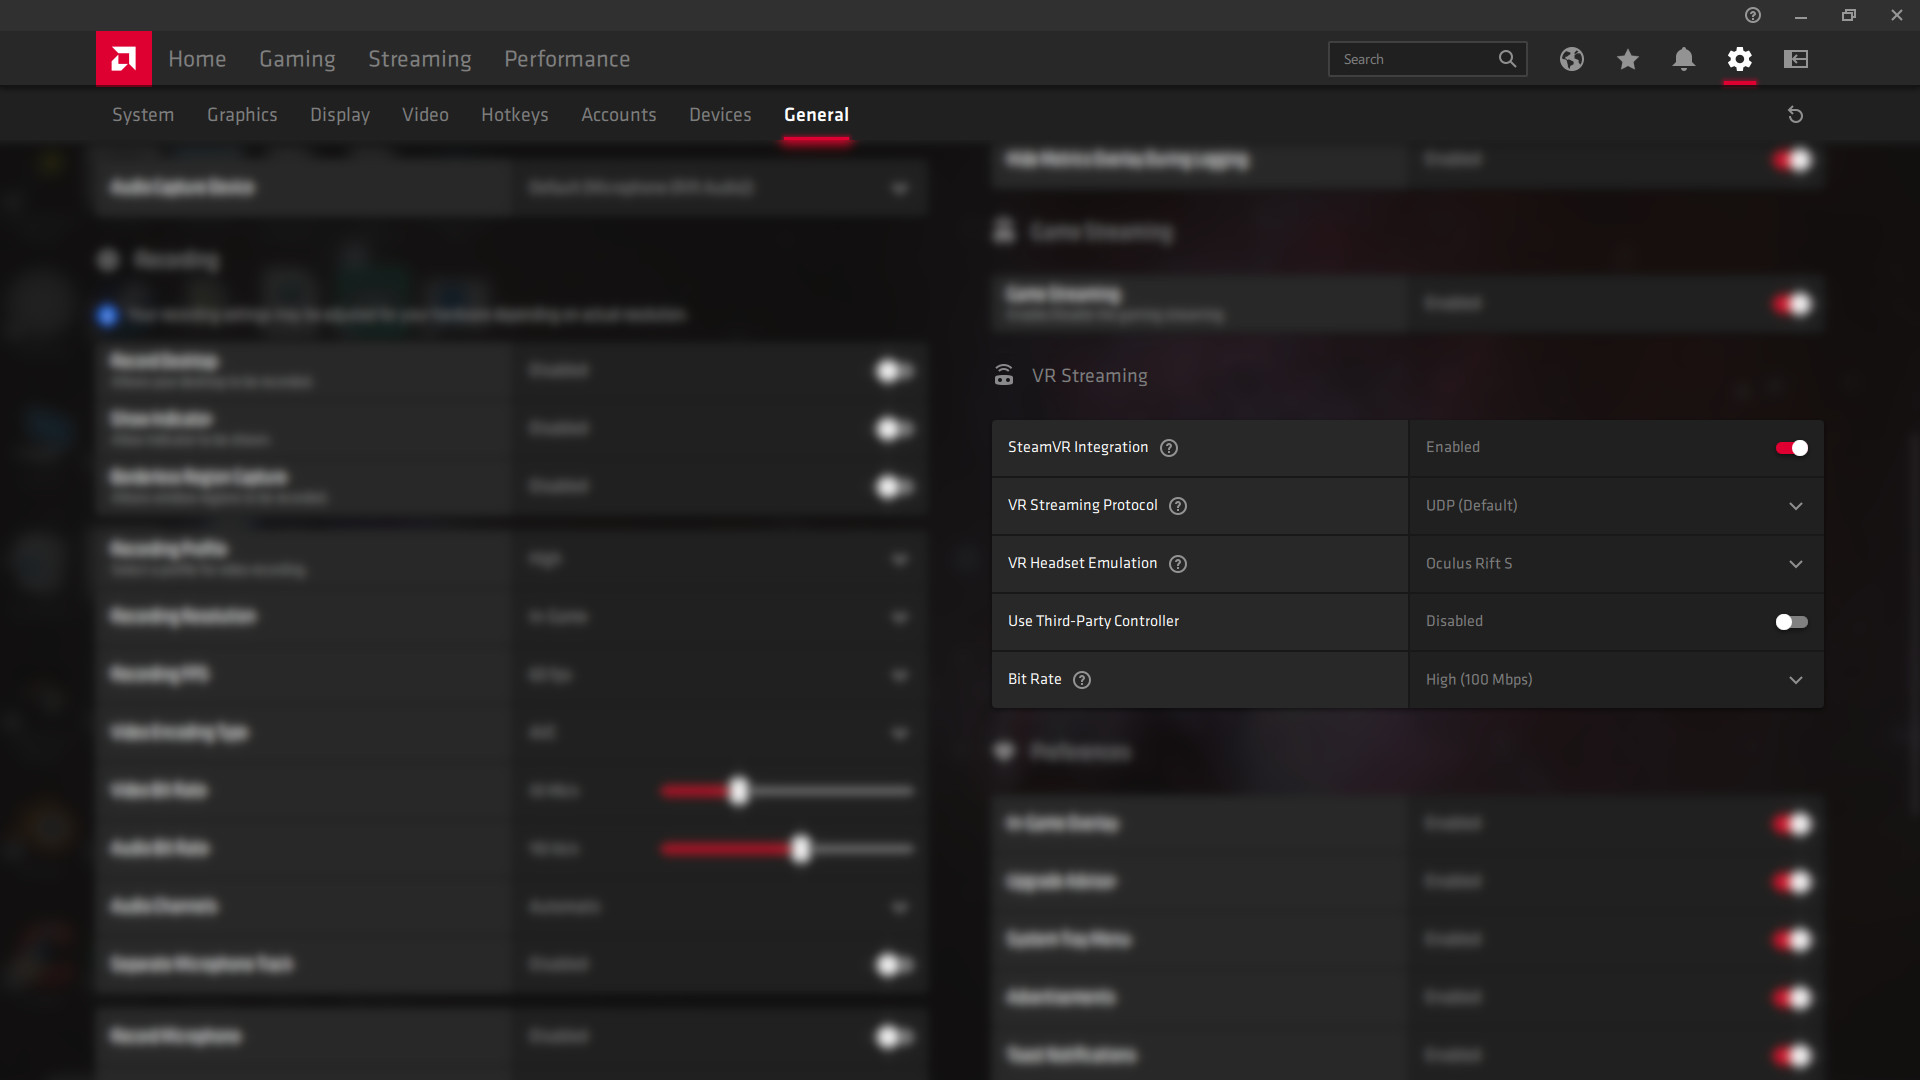
Then choose the General tab. Here, you’ll want to make sure you’ve enabled VR Streaming. Here’s the settings I’m using.
- SteamVR Integration: Enabled
- VR Streaming Protocol: UDP (Default)
- VR Headset Emulation: Oculus Rift S
- Use Third Party Controller: Disabled—unless you are using a gamepad or some other controller or input device.
- Bit Rate High (100Mbps)
Install/Launch SteamVR
We’re going to connect to SteamVR using ReLive. This will give you access to your PC’s Desktop, as well as your Steam and Oculus VR PC games.
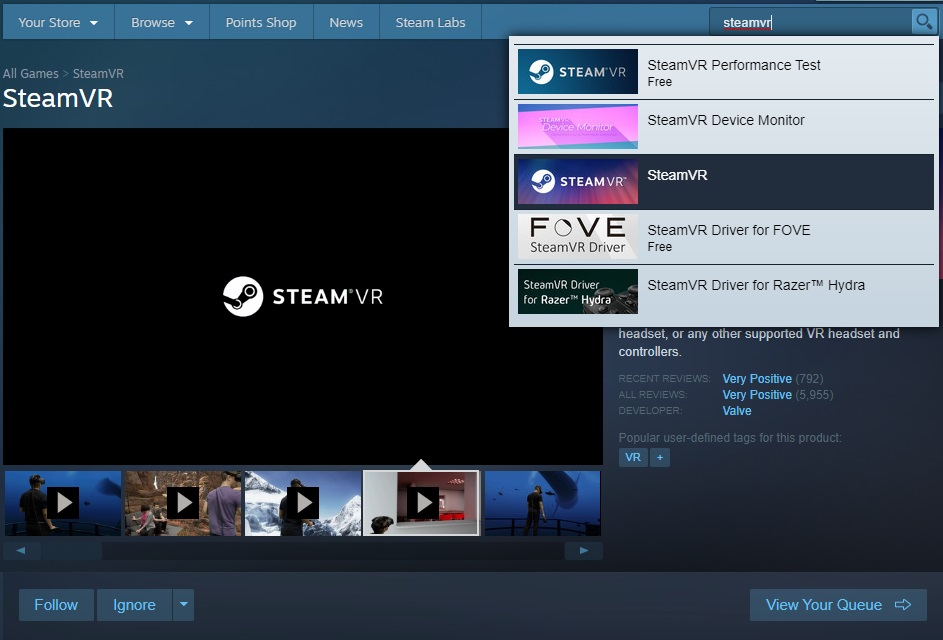
If you don’t already have Steam on your computer, you’ll need to get it from https://store.steampowered.com/about/. Install it, and make a Steam account. Once that’s installed and you are logged in, you’ll need SteamVR. Install it from the Steam store.
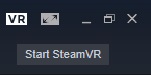
Now you can run SteamVR from steam any time by clicking the VR icon in the top right corner.
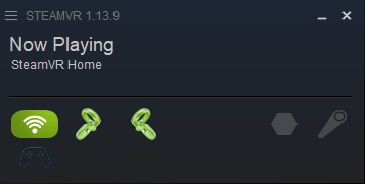
You should see the SteamVR status window that shows that the headset is connected via WiFi and touch controllers are visisble.
The first time you Launch SteamVR you may be instructed to perform a Room Setup.
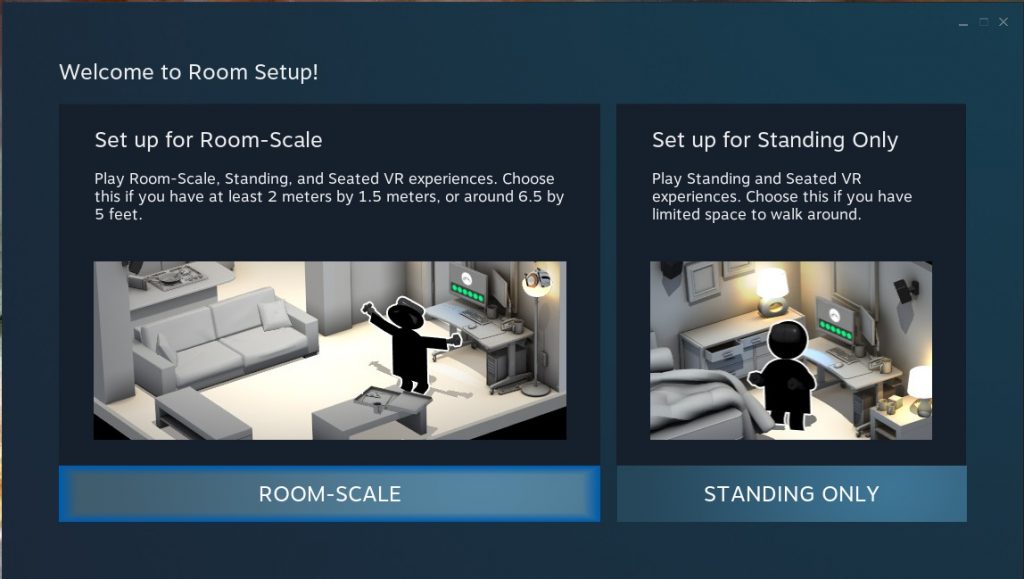
Choose Room Scale 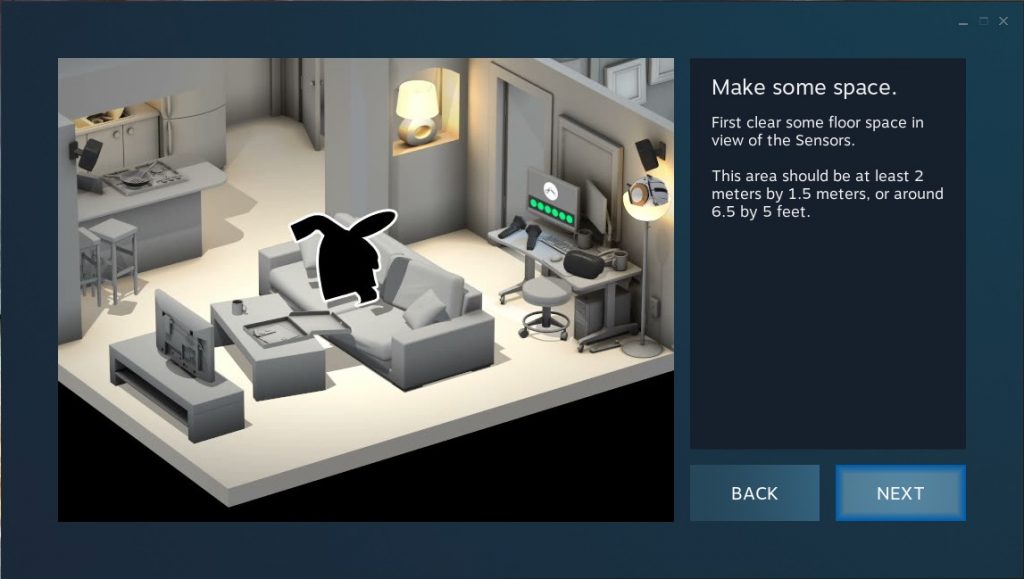
Make space 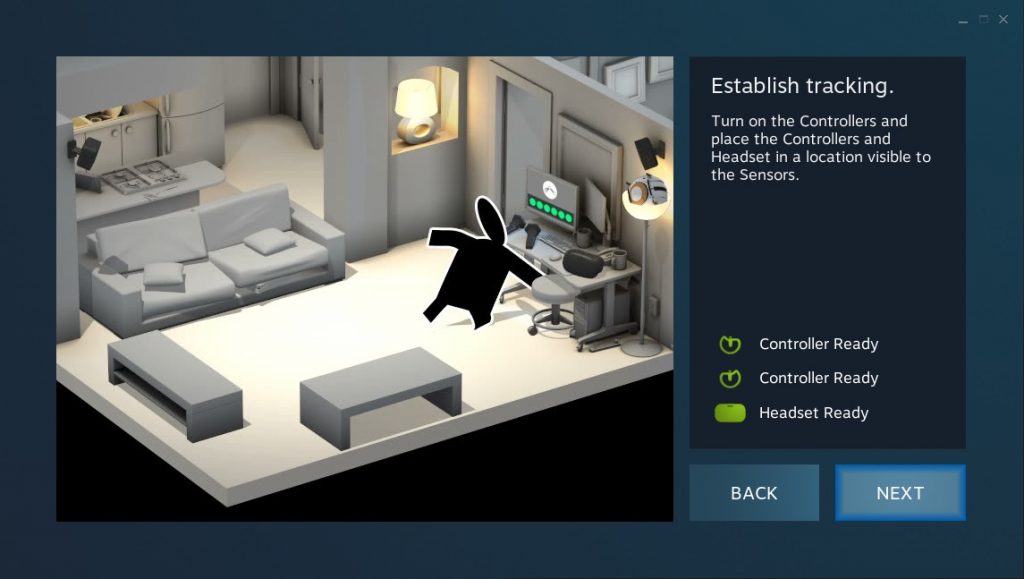
Tracking is working 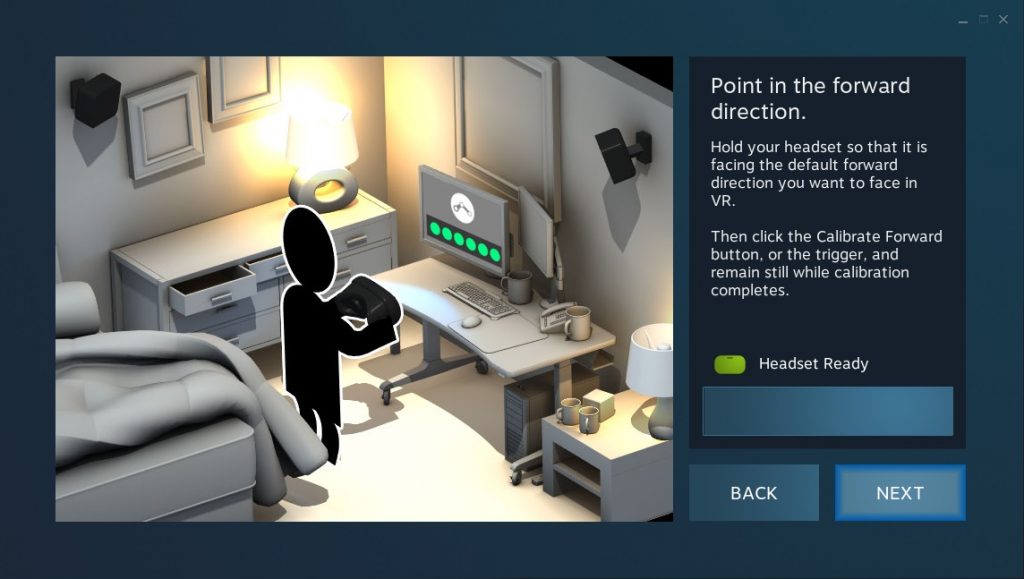
Calibrate Forward 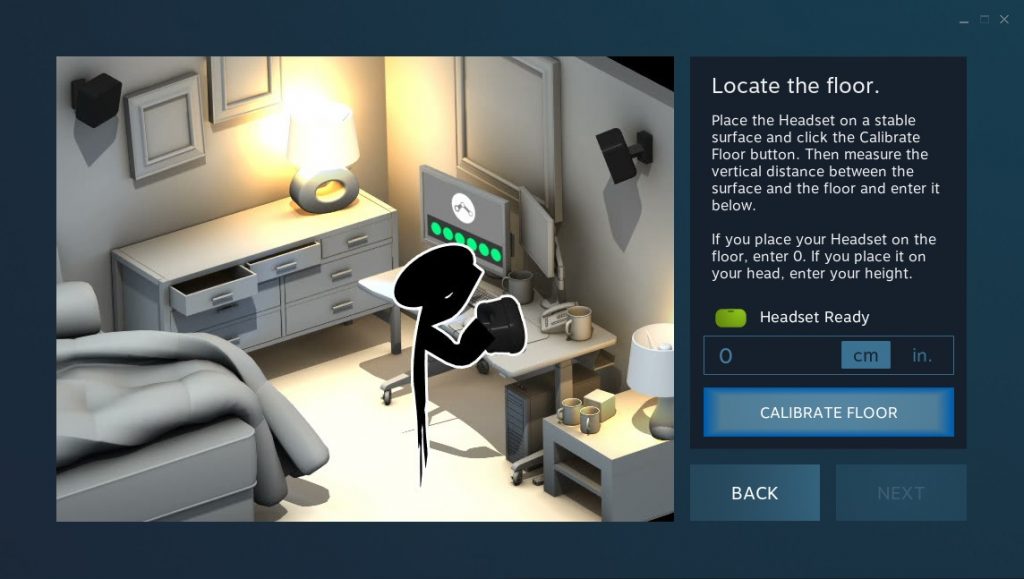
Calibrate Floor Level 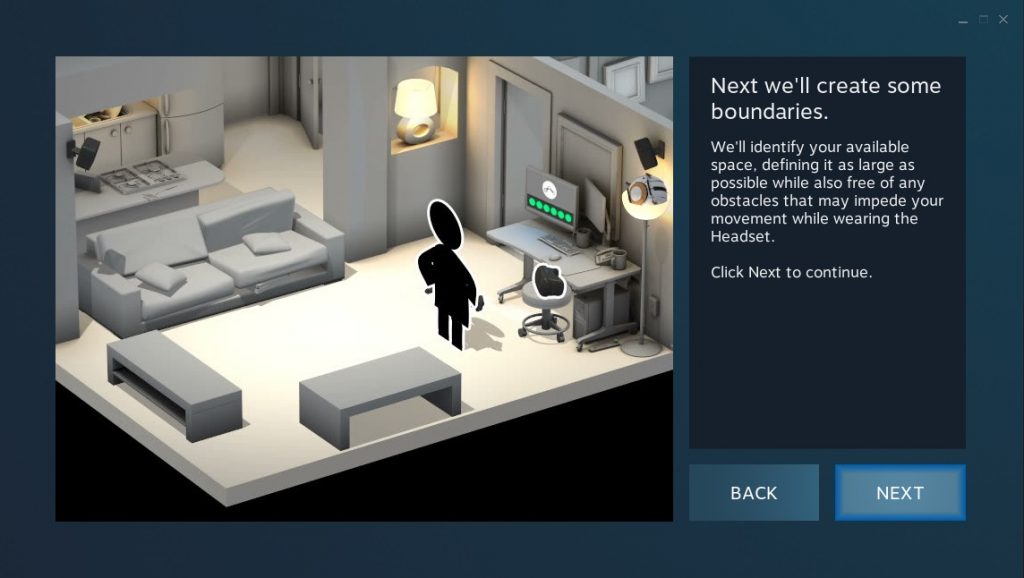
Make Boundaries 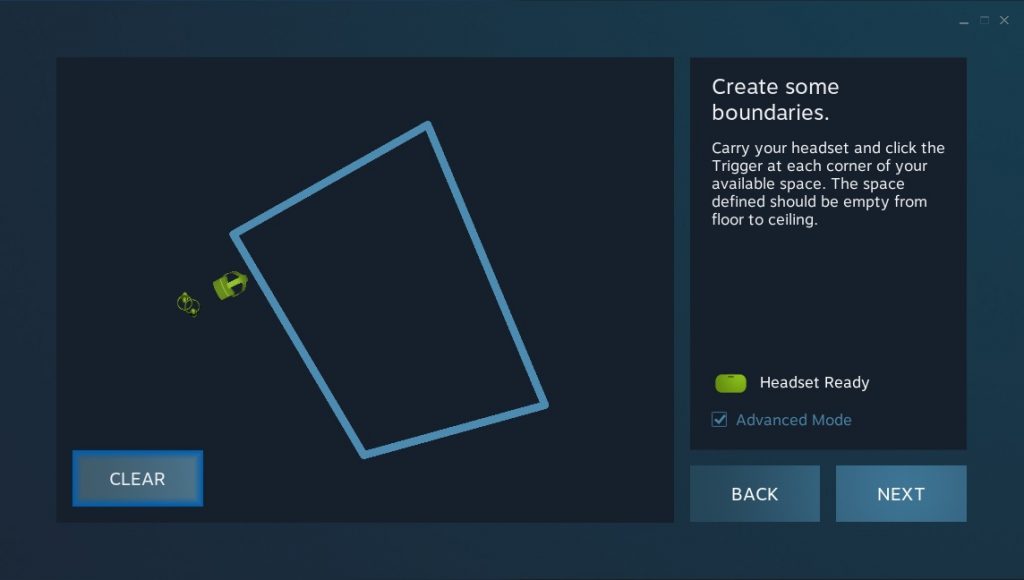
I used advanced mode and just click all four corners 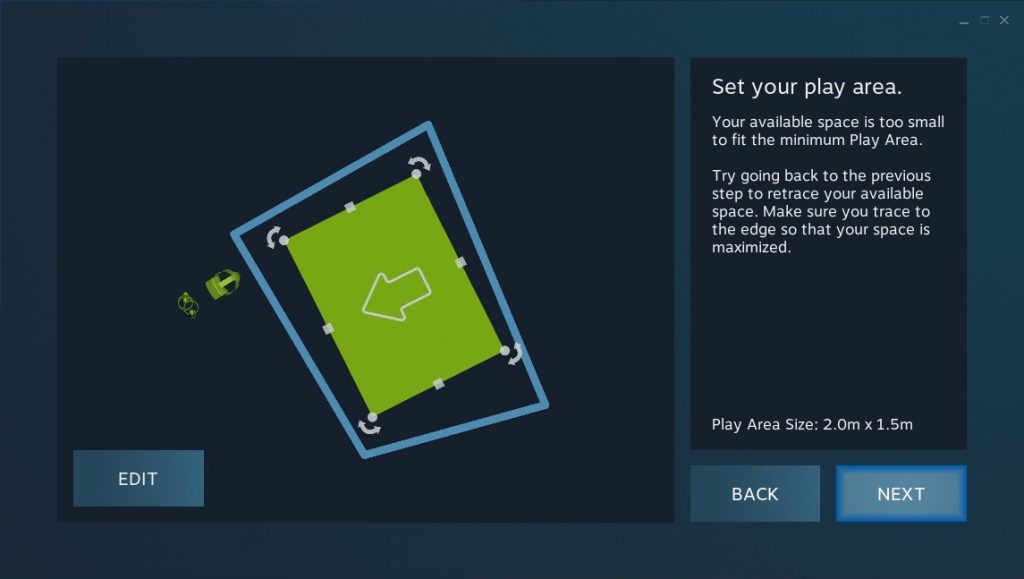
Had to rotate my space to line up inside the boundary
Enjoy SteamVR on Oculus Quest
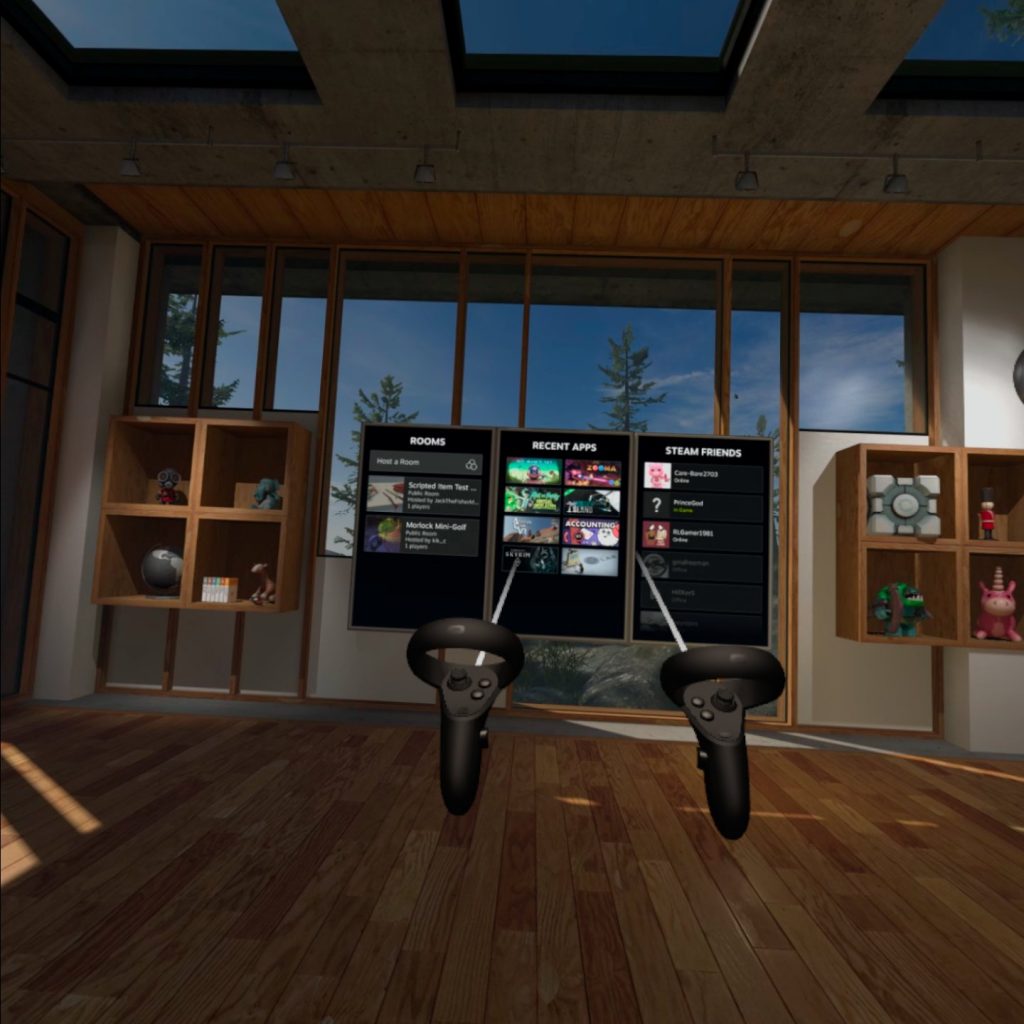
If everything in this guide went well you should now find yourself either in a virtual Steam home like the one in the picture below, or a broad grid environment. You can now start playing your SteamVR Games.
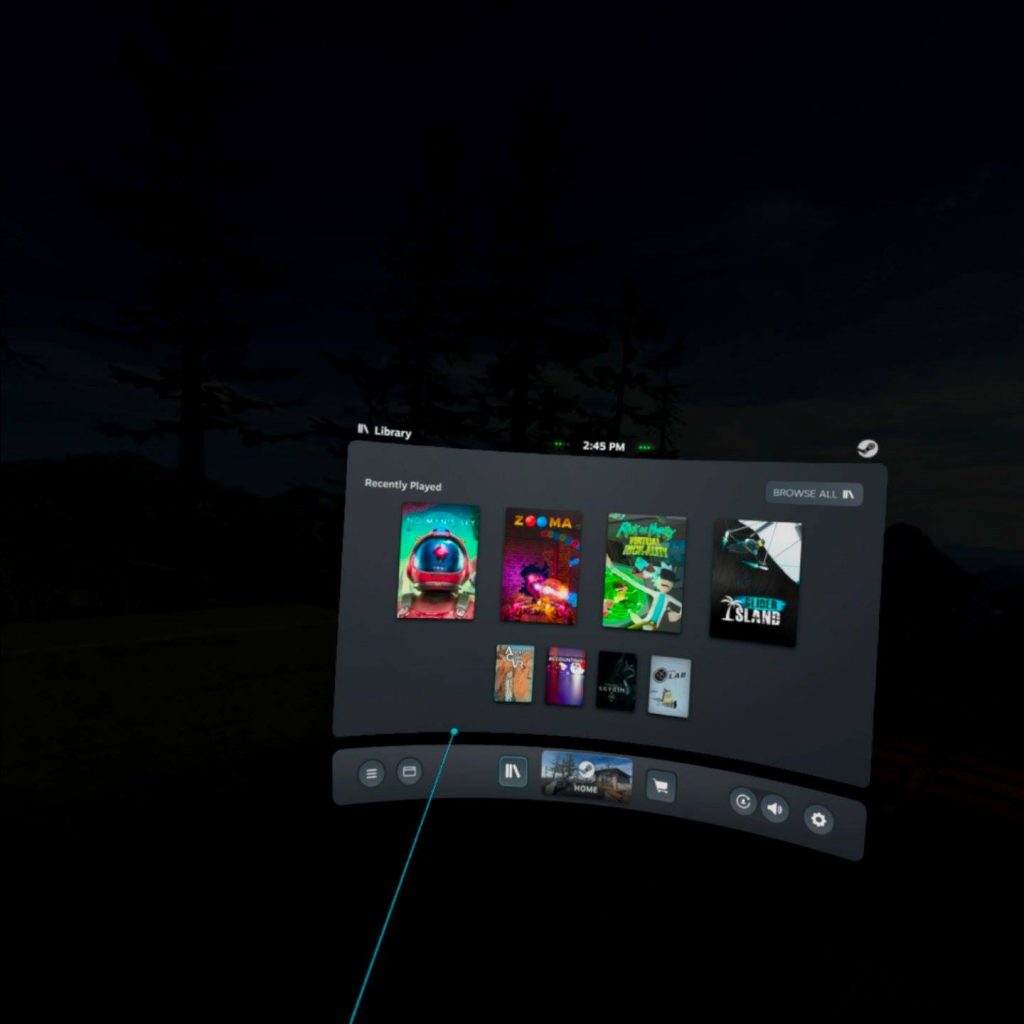
If you press the menu button on your LEFT Oculus Touch controller, it will bring up the SteamVR dashboard. From here you can view your library, edit settings, see your desktop, and exit SteamVR.
Pros & Cons
Pros
- Free (or at least included in the price of your GPU)
- Easy to use
- Already installed on your computer
- Works with most VR games
- Great Latency
Cons
The only con, for me, is that this method does not connect the Quest’s microphone to the PC. To talk to people in games using this method you’ll need to use another audio input device—like a Bluetooth headset paired to your PC.
Leave a Reply