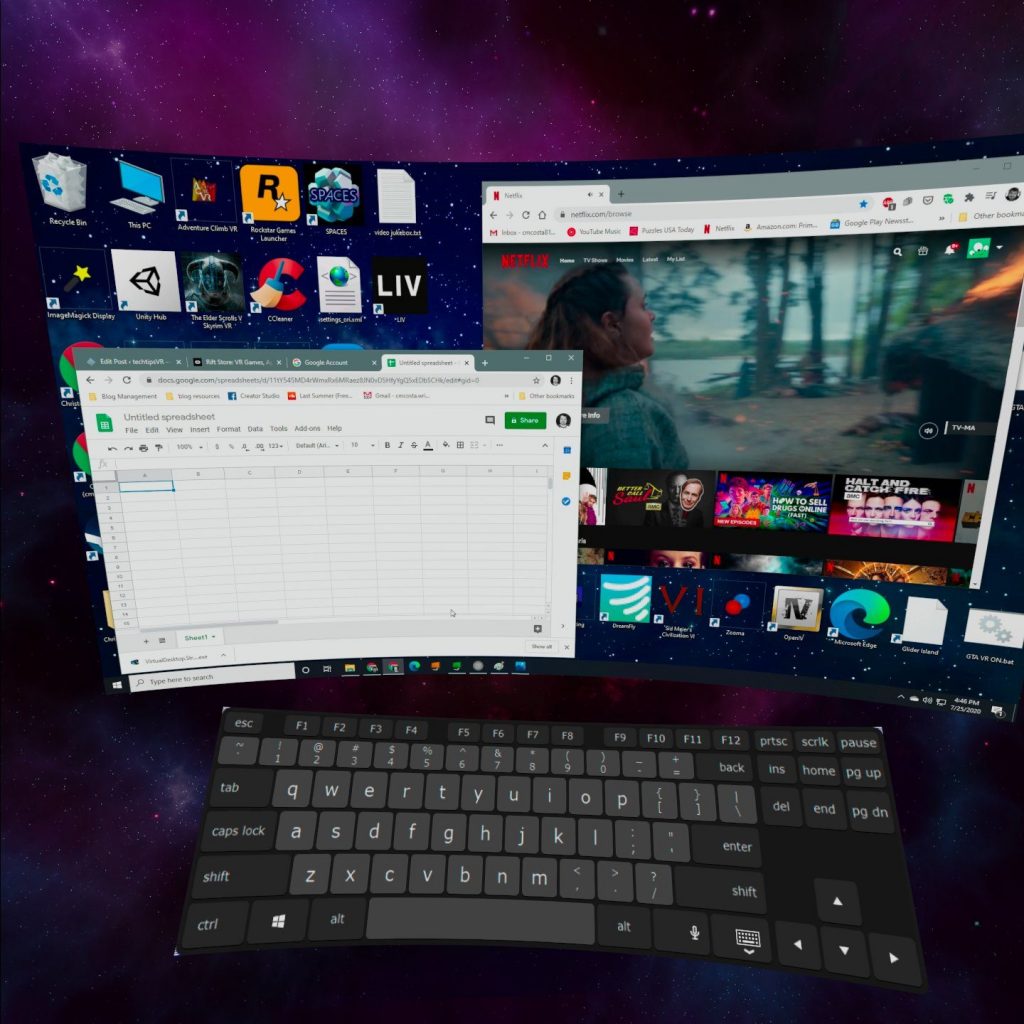
With Virtual Desktop from Virtual Desktop, Inc. you can use your PC from within your Oculus Quest VR headset. You can do all the normal stuff you would do on your desktop like web browsing, spread-sheeting, or pretty much whatever else you might do on your computer, but with an resizable screen in a VR environment!
Even better, if you have a “VR Ready” PC, you can also play your PCVR (SteamVR or Oculus Rift) games wirelessly on your Oculus Quest by adding a patch with SideQuest.
Update: The necessity of patching through SideQuest was finally removed right when Oculus implemented their own wireless streaming option, Air Link.
Note: If you don’t have a PC that can run VR games, you might be interested in using something like Shadow PC from shadow.tech which lets you access an online PC from any device for a small monthly subscription.
Simple setup
Part One: On the Quest
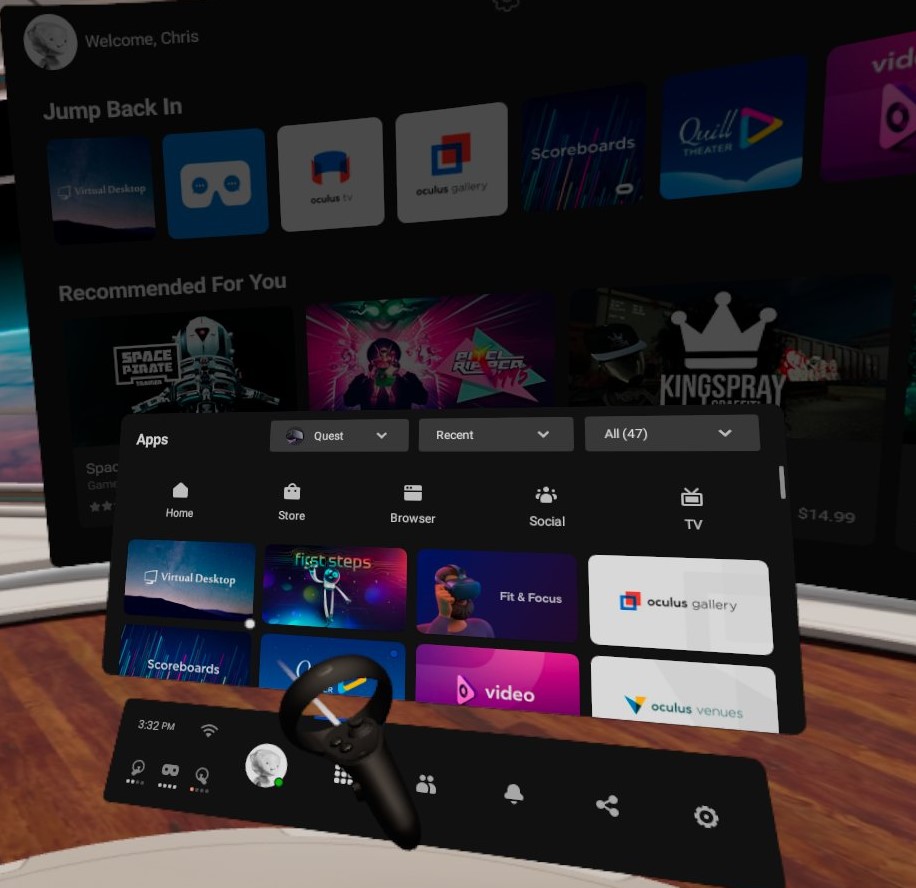
- Purchase the Oculus Quest version of Virtual Desktop from the Oculus store. (Please make sure you are NOT buying the Rift version—they are not cross-buy.)
-
Download and apply the Virtual Desktop VR Patch in SideQuest - Launch Virtual Desktop from your library
- Enjoy!
If you aren’t familiar with installing apps using SideQuest check out my guide for setting it up: Oculus Quest: Enabling Developer Mode and using SideQuest—No longer necessary for Virtual Desktop.
Part Two: On your PC
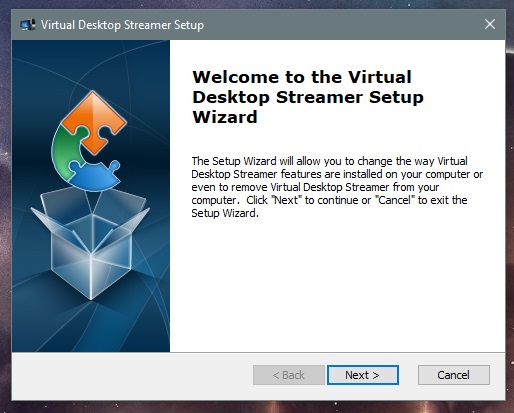
- Download the Streamer App from: https://www.vrdesktop.net/ This is the part that will run the service on your computer which streams your desktop to the Quest.
- Run the setup: VirtualDesktop.Streamer.Setup.exe
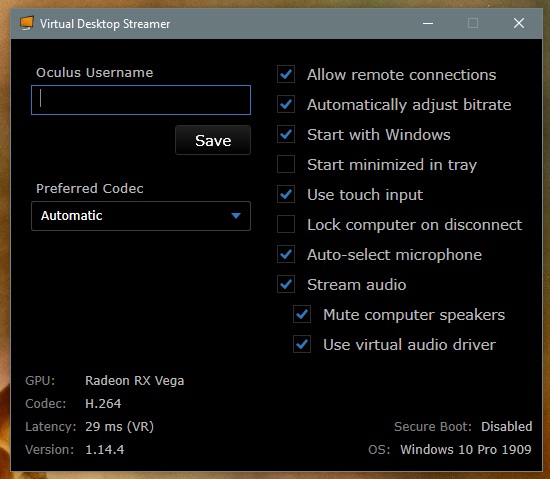
- Open the Virtual Desktop Streamer App and enter the Oculus Username that matches the account which purchased virtual desktop—the one that will be used with the Quest. Don’t forget to click “Save.”
Now, the Streamer App and the Quest app should be able to pair with each other and you’ll be able to access your PC and all your games. When connected, you should see your desktop and the Virtual Desktop menu pictured in the next segment of this post.
Note: Sometimes, for me at least, it takes several attempts for the connection to establish and stabilize. If for some reason you don’t see your computer listed in Virtual Desktop, or you simply cannot connect to it, make sure you entered the correct username and didn’t make any typos. You may also need to try restarting your PC or your Quest (maybe both).
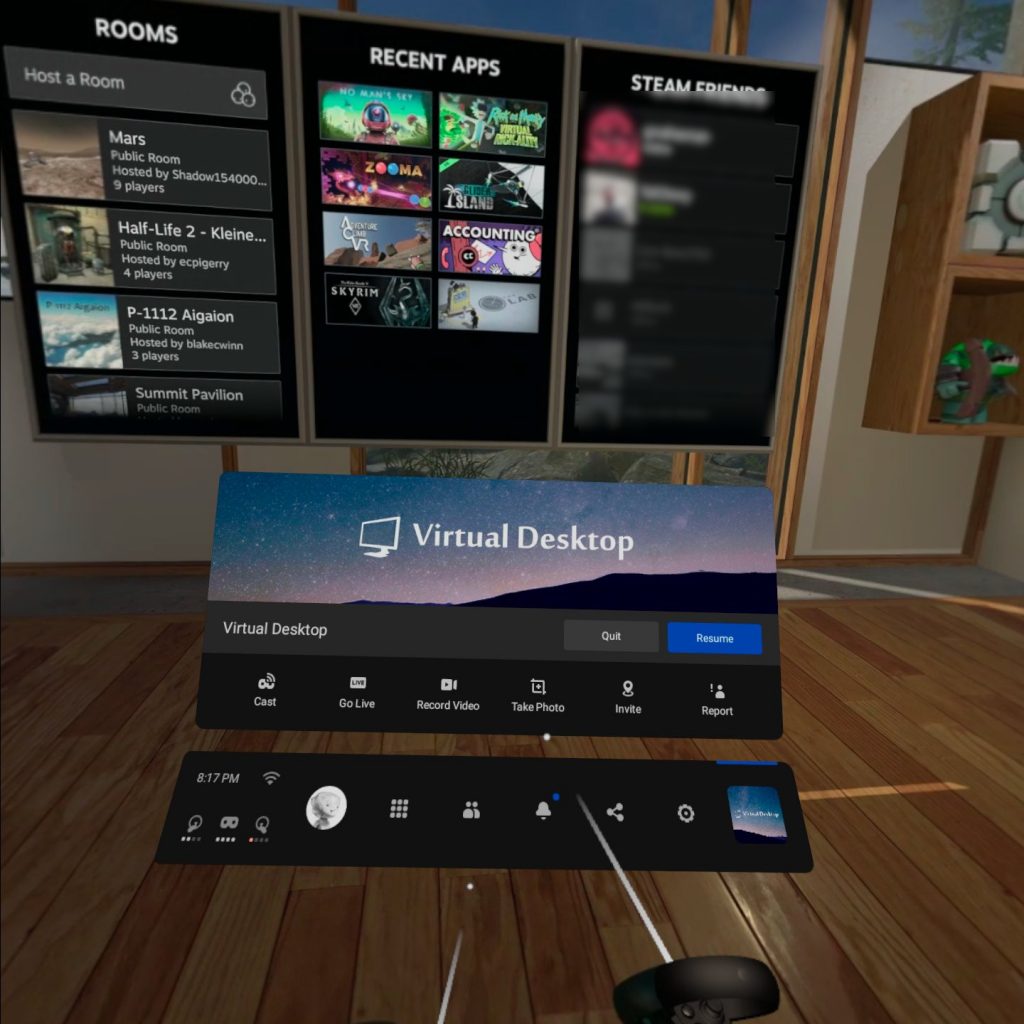
Virtual Desktop Menu
When Virtual Desktop is running, you can access the menu by pressing or holding the menu button on the left touch controller. (The button with the 3 horizontal lines.) Here’s a quick breakdown of what you’ll find there.
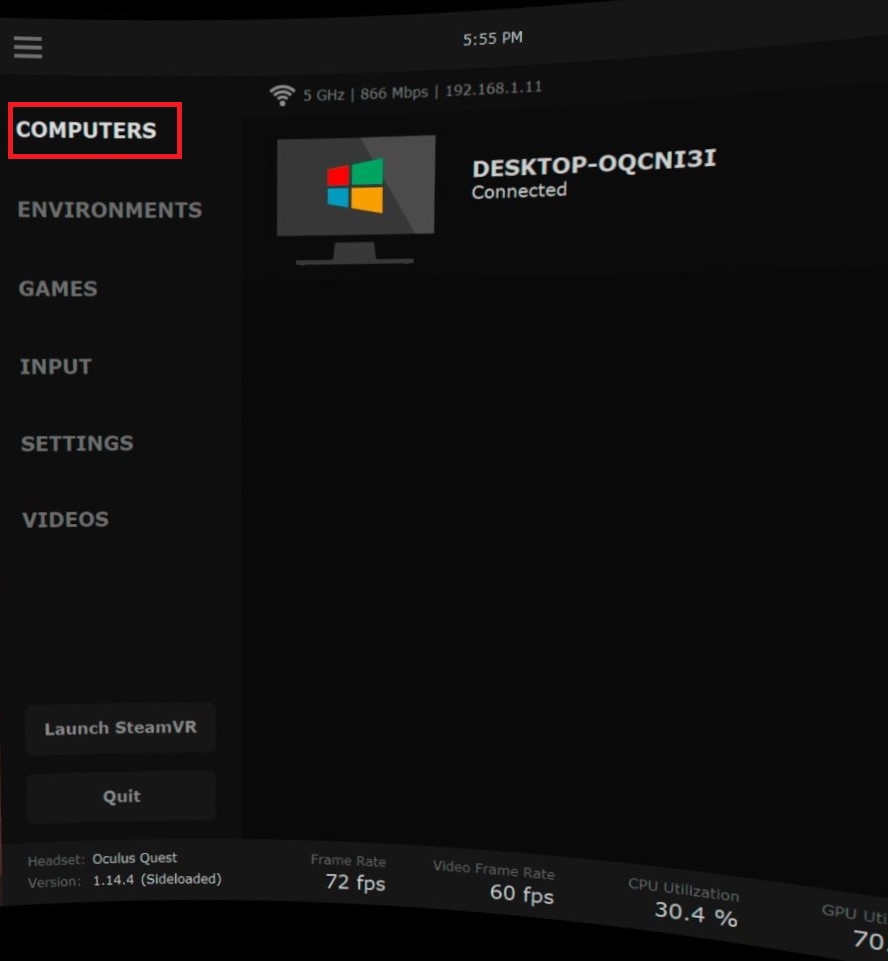
Computers
A list of computers on your network. I believe that you will see any computers that have the Virtual Desktop Streamer App running. Click to connect.
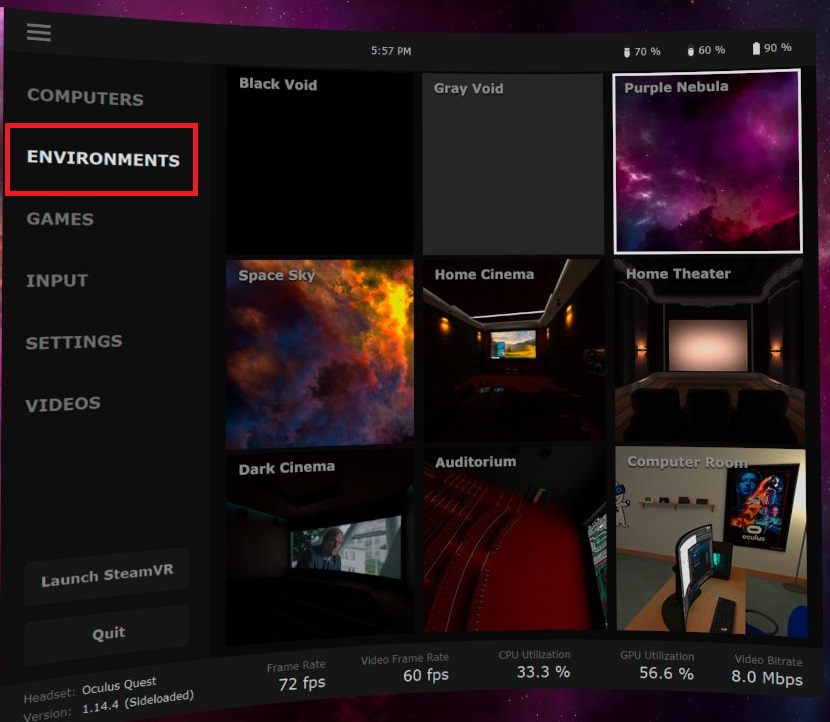
Environments
Choose the environment that surrounds you while you use Desktop mode.
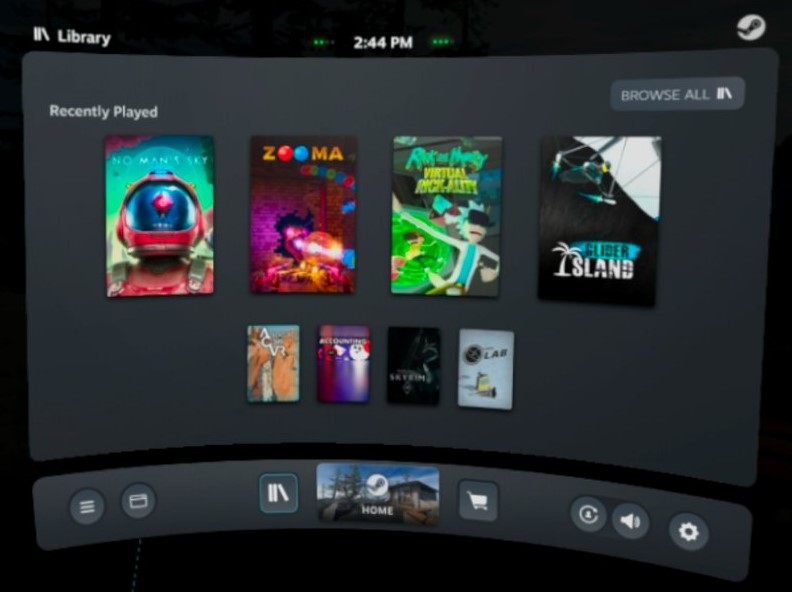
Games
Launch your Oculus games directly through the Virtual Desktop games explorer.
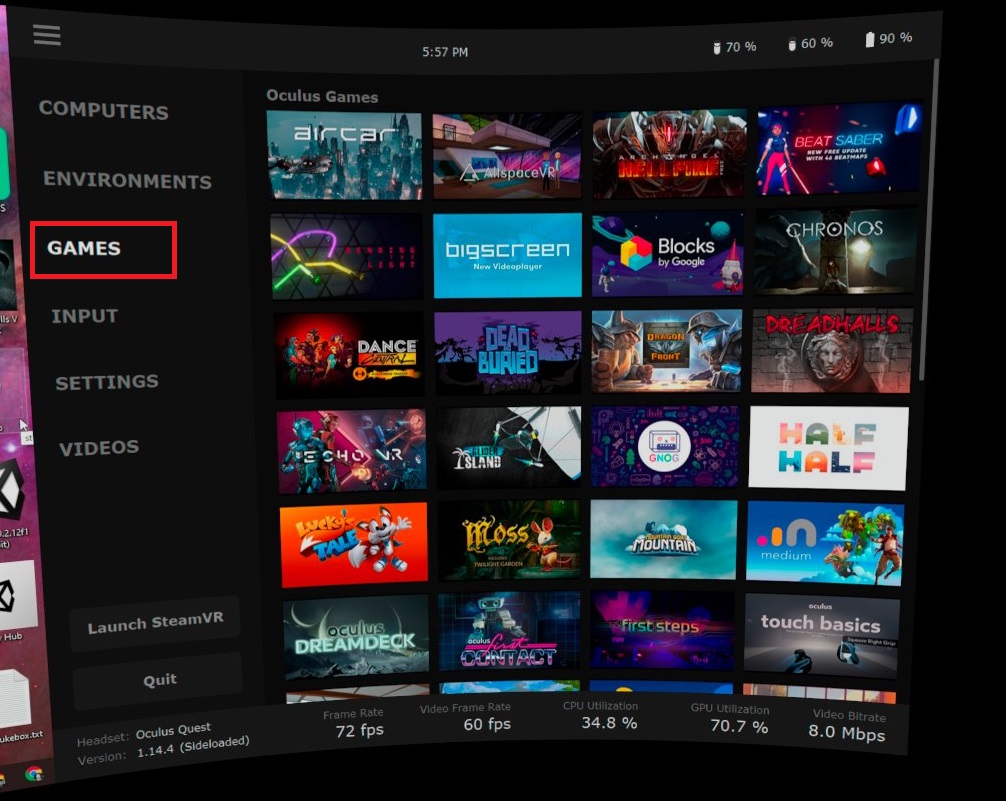
If you try launching an Oculus game directly from your desktop or the Oculus app instead of using this menu in Virtual Desktop you may encounter errors when launching your games. (SteamVR games seam to launch fine from the SteamVR Library.)
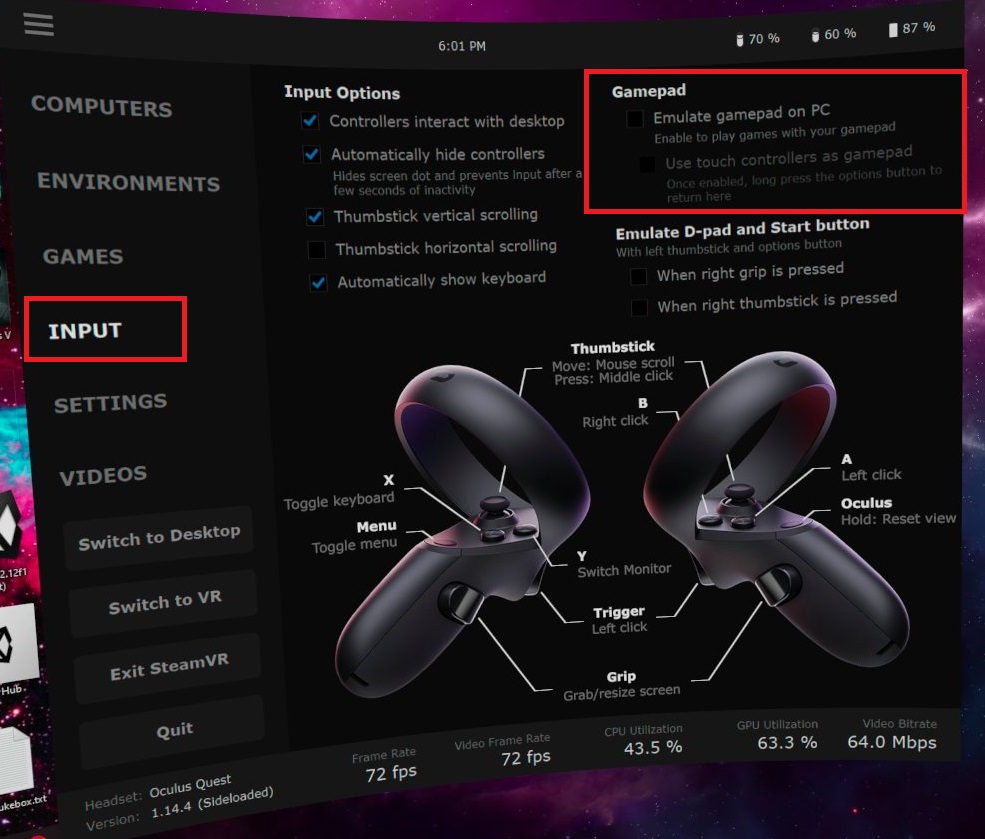
INPUT
See the default controller binding and edit input options. You can use your Quest Touch controllers as a gamepad!
Settings
One area where Virtual Desktop shines above the other wireless streaming solutions I’ve tried, is that with Virtual Desktop you can use the Quest’s built-in microphone with your PCVR games. You just need to go into settings—within virtual reality in your Quest headset—and enable the microphone passthrough.
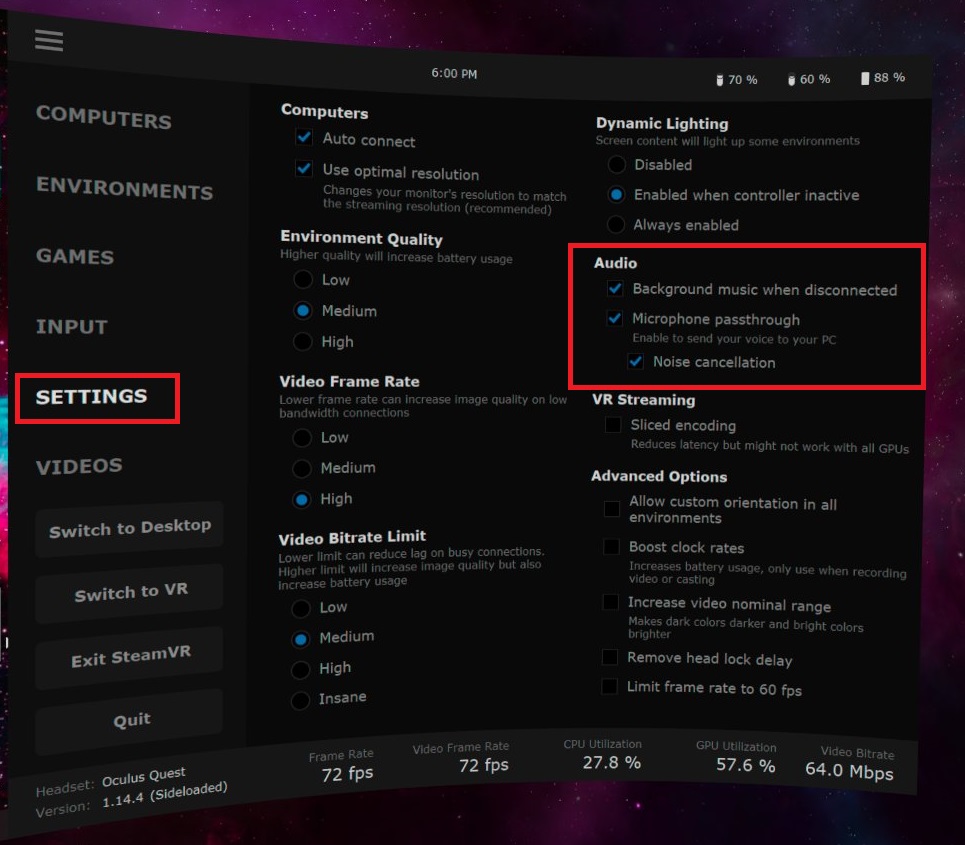
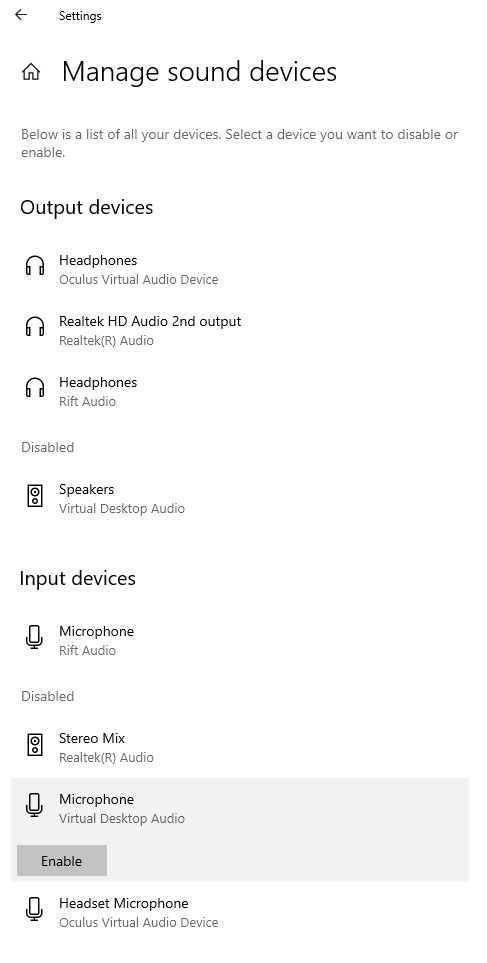
If you are having difficulty, or the microphone isn’t working after enabling the setting, make sure that the device “Virtual Desktop Audio” is enabled in Windows.
You can quickly check this in windows settings. Press the Win key, then begin typing “Input Devices.” You should see an option to Manage Input Devices appear in the list of suggestions.
Videos
This appears to be a placeholder for future support. I assume it well allow playing 360 and 3d videos stored on your device. Currently it just says “in development.”

Switching modes and other menus
There’s a few more options at the bottom of the Virtual Desktop menu
- Switch to Desktop: if you are running SteamVR or a VR game, this option lets you switch back to controlling your desktop.
- Switch to VR: when you have SteamVR or a VR game running this will put you back into the game.
- Launch/Exit SteamVR: as long as you have SteamVR installed on your machine this should let you open and close it so you can dive right into your games.
- Quit: will exit Virtual Desktop and bring you back to the Oculus Quest home.
The other dashboards
There are actually 3 menus/dashes that you can access while Virtual Desktop and SteamVR are running.
If SteamVR is not running, pressing the menu button on the left touch control (the button with 3 horizontal lines) will open the Virtual Desktop menu described above—if SteamVR is running, you can still access the Virtual Desktop menu by holding down the menu button for a second or two instead of just quickly pressing it.
If SteamVR is running, you can open the SteamVR menu/dashboard by quickly pressing the menu on the Left touch controller. In the steam dash you can view your library, access the store, access SteamVR settings, and reset your position.
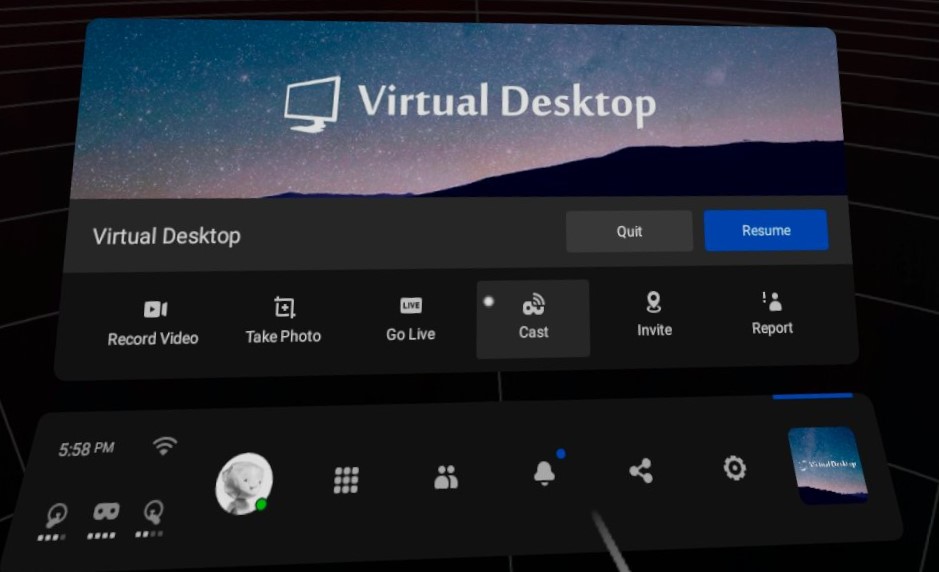
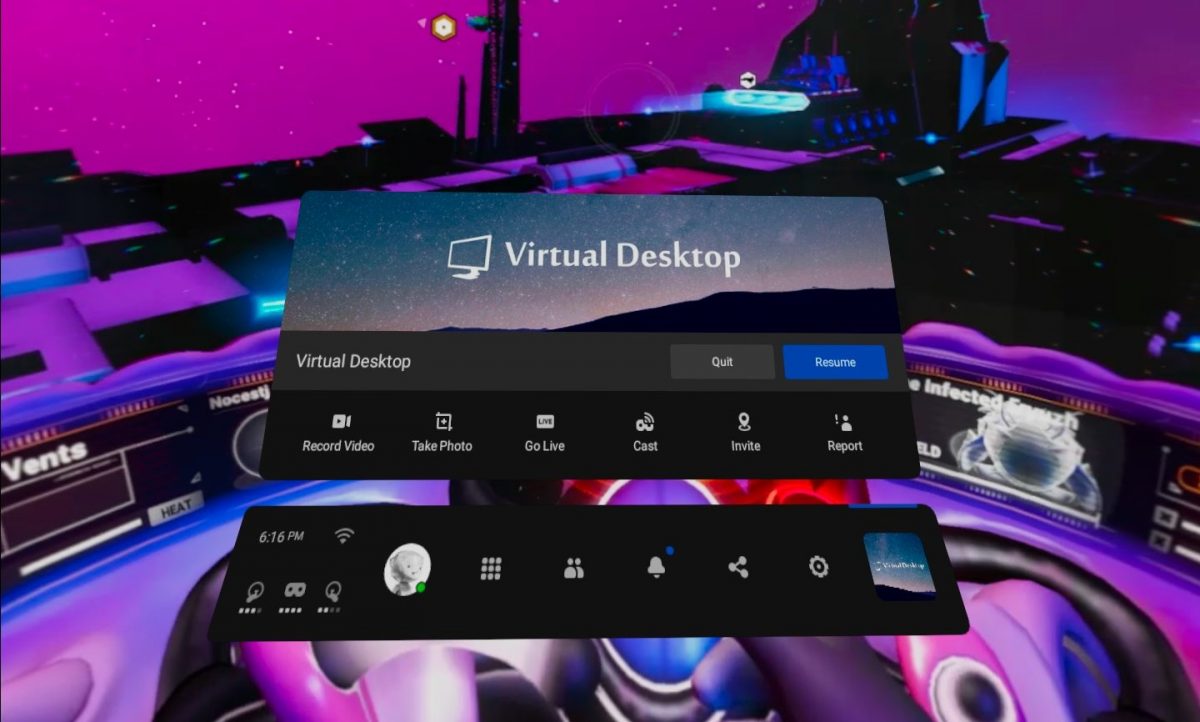
Last, you have the default Oculus Quest dashboard. This is just the regular menu that you can always open by pressing the menu button on the right touch controller—the button with the Oculus logo. You can do all your cool Quest stuff like recording, taking screenshots, and live streaming from here.